
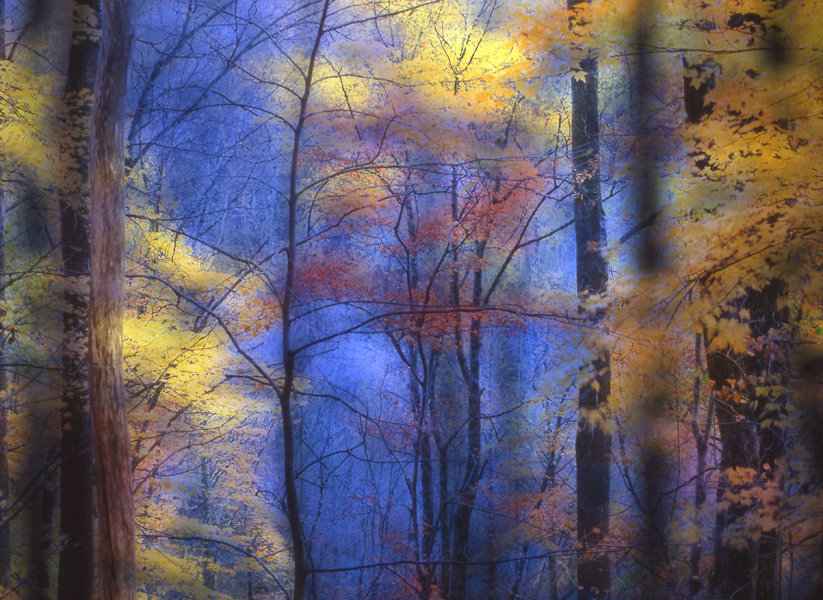

Image by Michael Hickey, one of our Churchville Photography Club members.
Everyone is familiar with the 'dreamscape' effect. One image slightly blurry, one image very sharp. In film, two slides were used to layer and create this effect. This article from Dale Wilson explains how you can create this effect in the digital process.
This is an excerpt from the article. To read more, visit: http://digital-photography-school.com/pulling-dreamscapes-via-orton-effect#sthash.I86yJ0CH.dpuf
....
"Please feel free to adjust and season to taste, but this technique should be included in every recipe book. I will not use shortcut keystrokes or use the command or control key function of Mac versus PC platforms. I will assume the reader can understand where, when and how to substitute these keystrokes.
Open image
Duplicate background layer and call this new layer “Base Layer”
Create a duplicate layer of the Base Layer and call this new layer “Screen Layer”
With the screen layer active, change blend mode to Screen
With the screen layer active, select Merge Down
Create a duplicate layer of the “Base Layer” and call this new layer “Blur Layer”
With the “Blur Layer” active, go to Filter > Gaussian Blur. Adjust the blur to a point where there are no identifiable features; 20 is a good starting point.
With the “Blur Layer” active, change the blend mode to Multiply, and adjust the opacity and / or fill slider bars to achieve the desired effect.
Flatten the layers.
Depending on your own taste you might find the blacks have become blocked-up. To adjust for this there are several usual techniques, most often it is easiest to create a curves adjustment layer and simply open those shadows until you begin to see a hint of detail."
Good luck with your experimentation!! It's another tool in the digital toolbox!
Leave A Comment
You must be logged in to post a comment.